The first reuse of the wine barrel was a rotating composter built for me by my daughter Ashleigh and son Ben. It was a gift for Father’s Day, June 16, 2013. It was well appreciated. As a compost tumbler it was a mechanical success but lacked the volume to be an effective creator of compost. The Houston wet weather finally wreaked havoc on the support stand but left the barrel intact.
So, Ashleigh and Ben, your gift has been repurposed and is still fondly remembered as the Father’s Day gift you had intended – something useful in my garden!
After securing the metal bands with a few extra screws, I sawed the barrel in half starting at the compost tumbler door. I did salvage the hardware for a future project. I made the cut such that the back side was a bit taller than the front lip. See photo below.
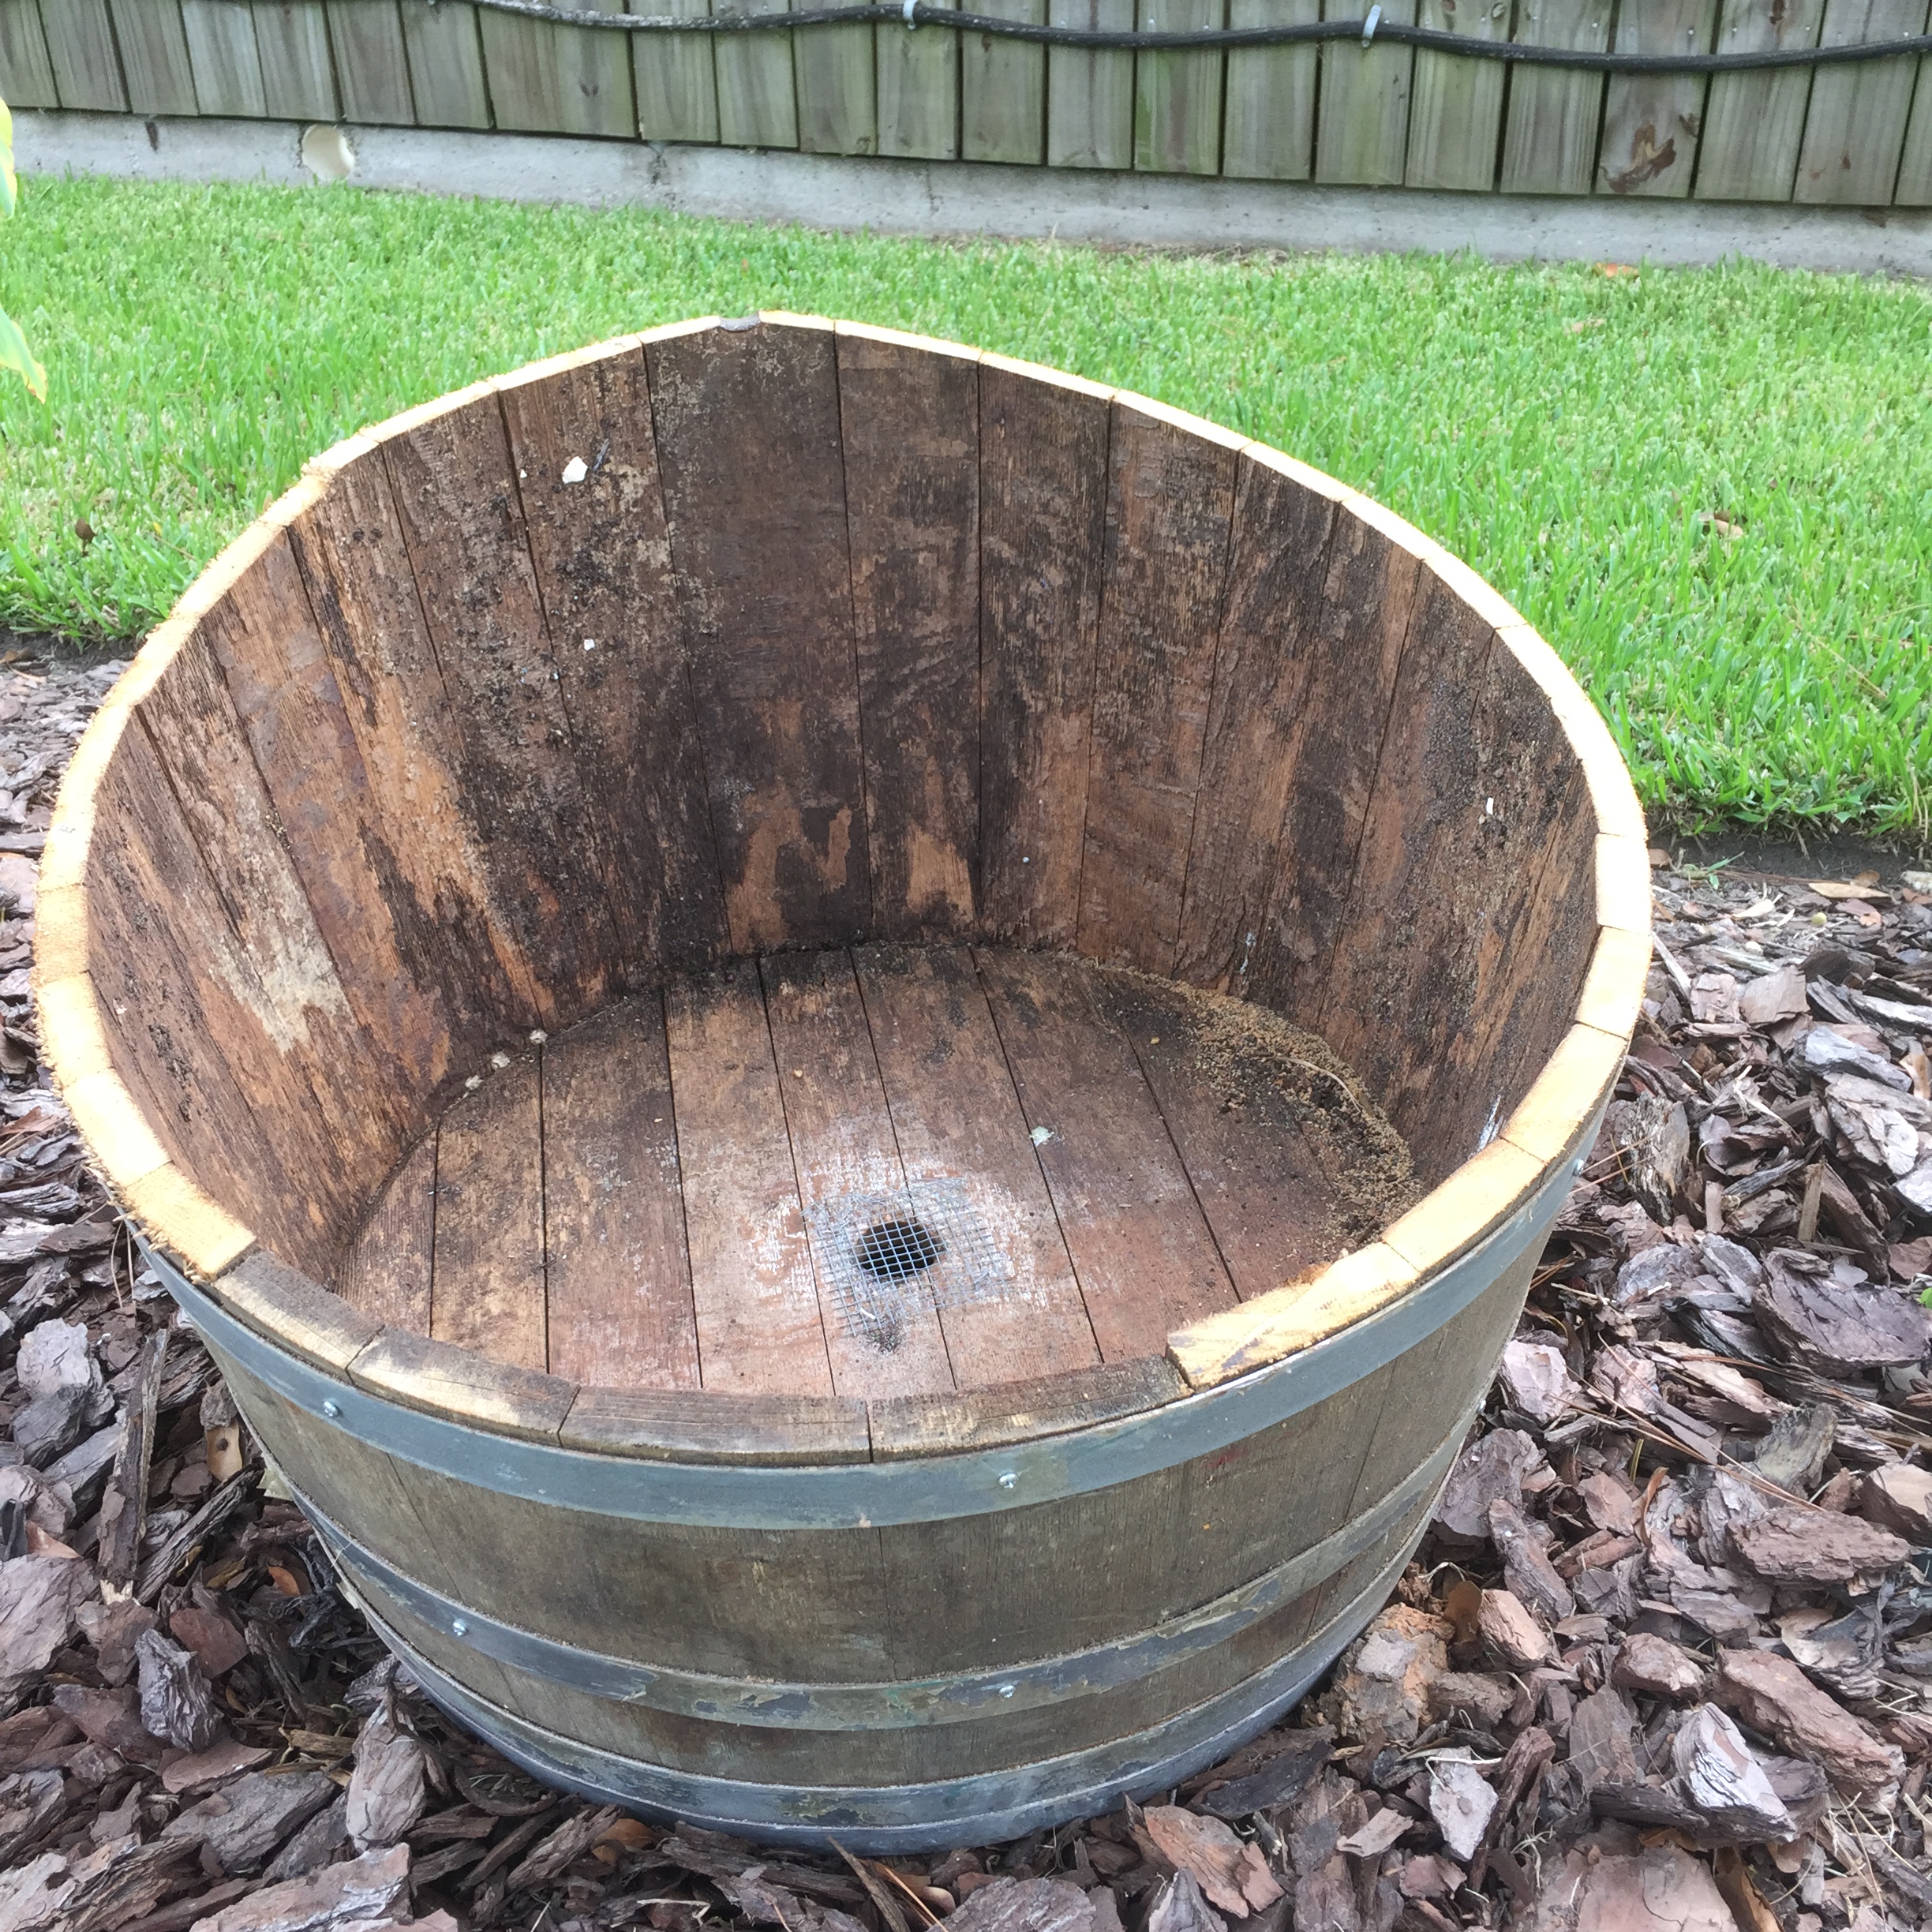
You can see the darkened wood where the door was. Trust me, the backside is taller than the front lip.
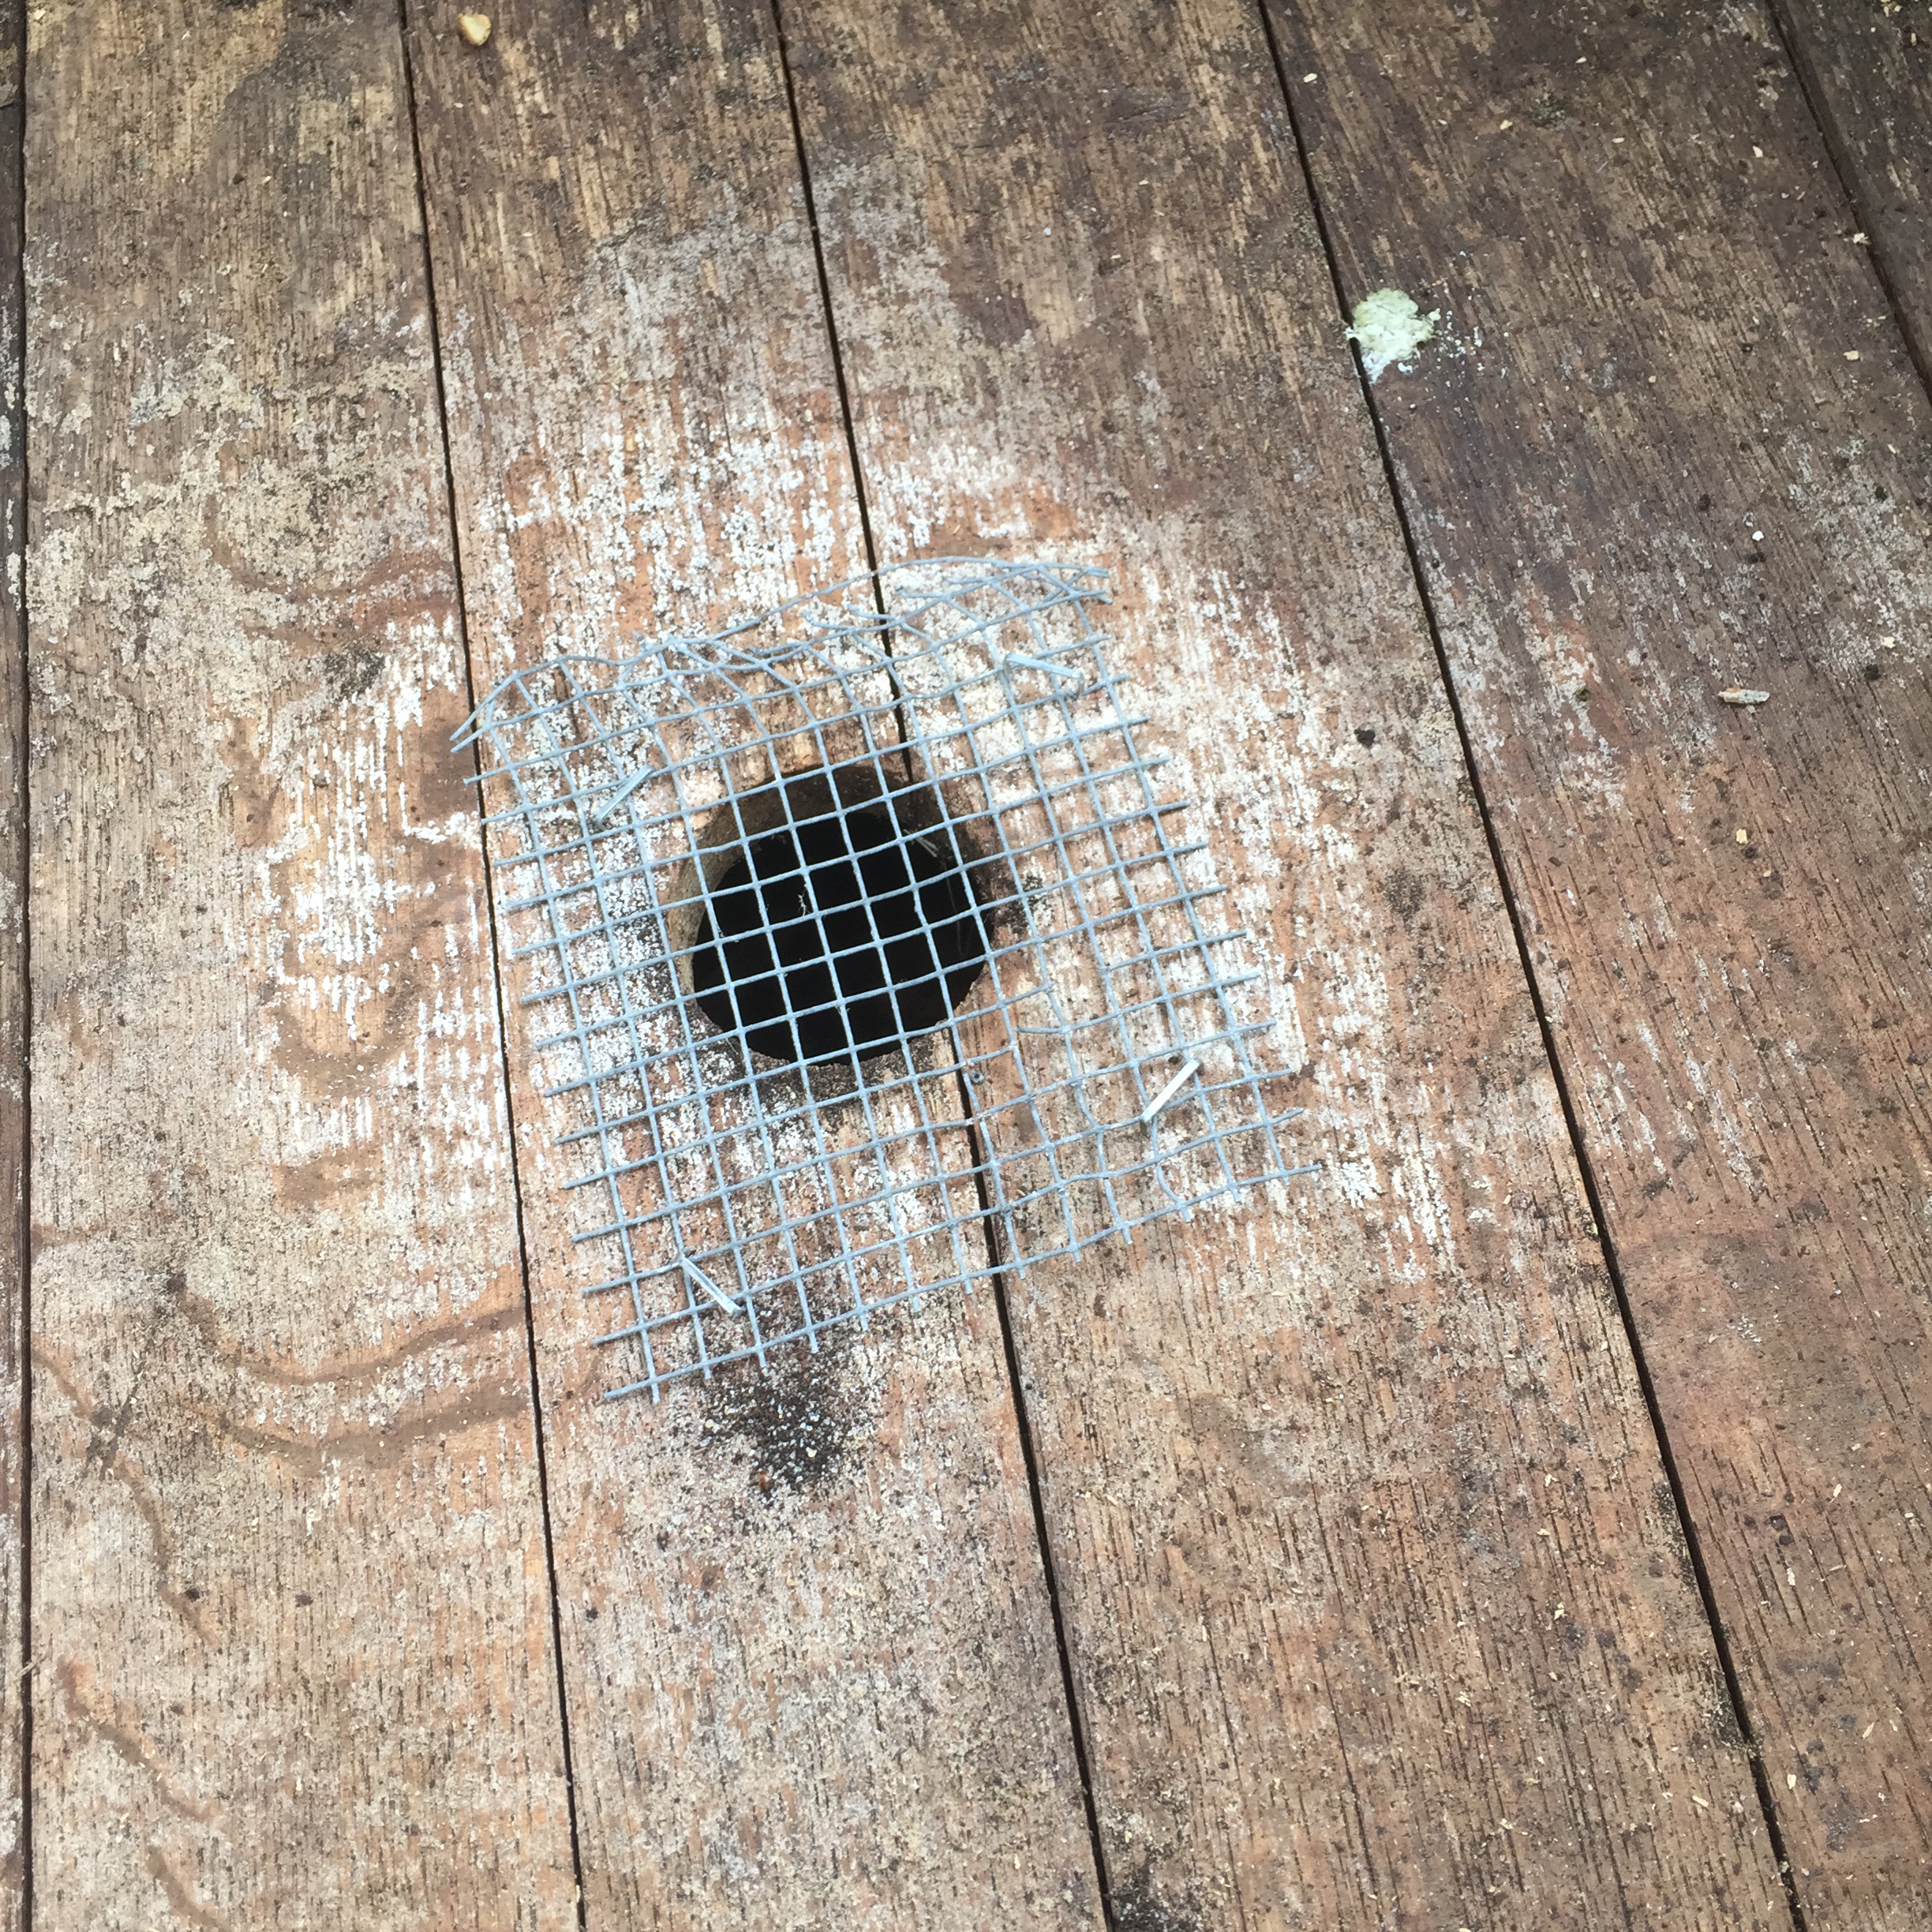
The barrel had a rod run through it so that it could rotate. The hole make a great drain hole. I covered the hole with a wire screen and as seen in the next photo, covered with gravel before adding soil.

I piled a small bucket load of gravel over the hole to aid in retention of the garden soil…..I suspect it will work well.
The first half barrel has been planted with strawberry plants destined to provide luscious red berries for next spring’s jam making.

Strawberries….can’t wait!
The remaining barrel sits ready and I am waiting for the boss to tell me what to plant! Yes dear, I am listening!
Bonus question……Where does TTFN come from?……hint, think HONEY!
TTFN
Bishop