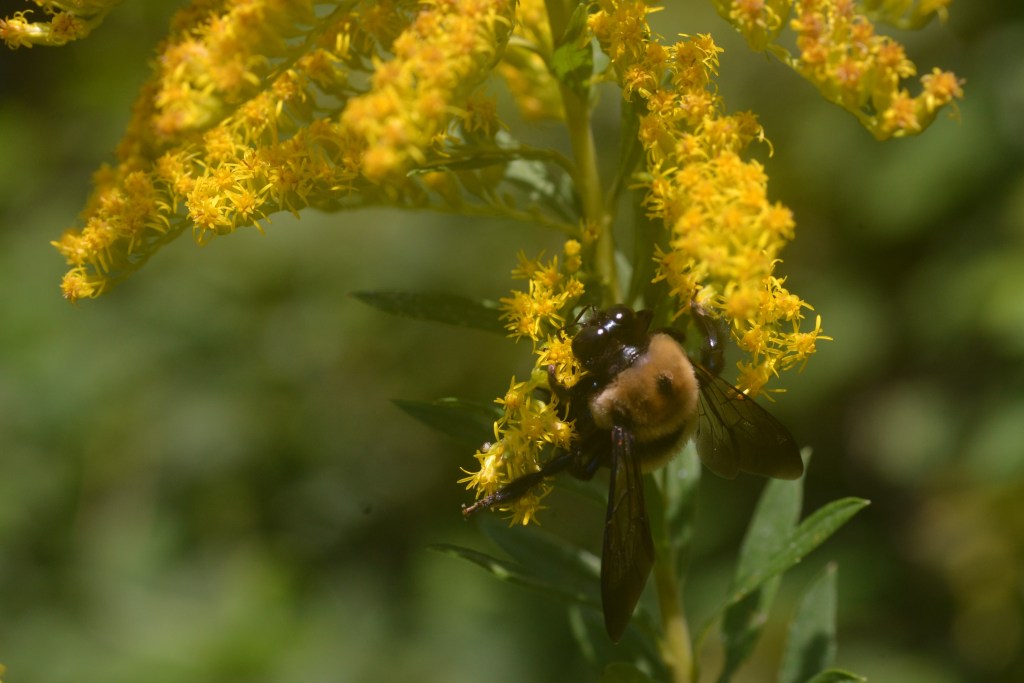
When it comes to rescuing honeybees I have decided to leave that for the younger keepers and those more willing to work off ladders and willing to suffer the Texas heat. I am willing to go round up a swarm out of a bush or off the ground or, as in this post, a low to the ground trap out opportunities. In this case the only entrance was at the base of a tree and lent itself to a relatively straight forward trapout effort for me.
So, what is a trapout? I had to laugh at my research for this blog post. There was one site that referred to the process as “glacially” slow…..isn’t that the truth. Three to four weeks is a likely time frame. It requires that all entrances to the colony inside whatever it is are reduced to one single opening. I had one several years ago before I narrowed down my acceptance of such jobs, that went on almost 6 weeks and about $40.00 of caulking to seal the roof line access gaps. Yes, I got them out, but no, I did not capture them. Success too many times is minimal but here in the south, chances for success are much better.
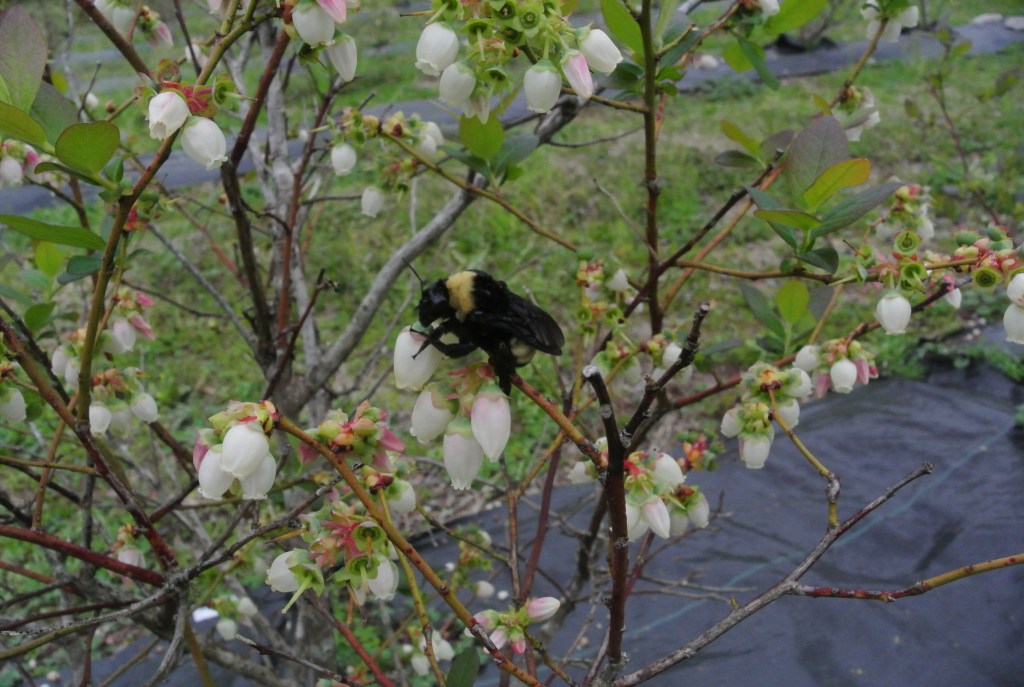
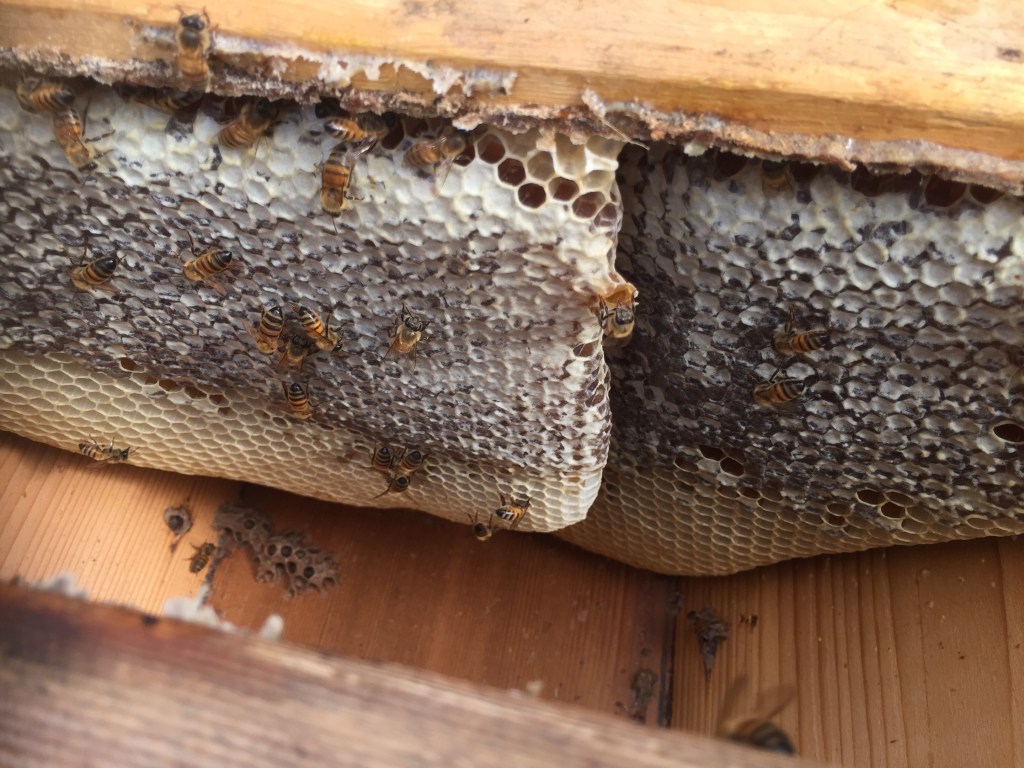
How did I do on this effort? I was very pleased with my one-way escape plan. The cone was as perfect as I have ever built. The tree lent iself to the process with it’s low opening and broad trunk base making the escape truly one way. Using the 1/8 inch hardware cloth is sized so bees cannot squeeze back in and the cone long enough and tight enough at the escape point to prevent a return to the colony in the tree. Returning bees are guided primarily by scent and prior orientation flights for the tree’s access hole. The cone screen material actual makes it impossible for the retuning bees to see the 3/8 inch escape opening.
First things first. I brought out a 10 frame deep box with 4 or 5 frames of drawn comb and the rest were undrawn frames with foundation. In a classic trapout I could have opted to add a frame of brood and nurse bees along with a queen but chose not to….It was a long shot, but I hoped I could get returning foragers into my box, adding nectar and pollen while awaiting the queen and attendants to be starved into leaving and taking up residence in my box.


Now, several week later I went out to observe. Clayton, the property owner, informed me that there has been no activity escaping through the cone for quite some time. I drove out to see what was going on. There were maybe a few hundred bees in the box, some the drawn comb was wet with nectar indicating that the escapees had been working but not any evidence that they had tried to set up housekeeping. Then I noticed some small hive beetle larvae slurping up nectar on some of the frames but not to the point of sliming and ruining the comb……Now scramble time for me. It became obvious that the colony did starve out and likely absconded. The few bees remaining were either stragglers or robbers. I did have a very nice swarm captured several weeks earlier and they seemed to be growing fast. I placed them into a 5 frame box and prepped them to travel and take up residence in the box at Clayton’s place. I should actually say, at Clayton and Aurora’s place.


I added the previously captured swarm and purged the few wet frames and those with small hive beetle larvae with good frames. Now time to seal the hole in the tree, otherwise the scent will be a magnet to any bees looking for a home. Success in some ways, maybe not so much for the colony that absconded, summer is not a good time for bees to swarm……summer in this part of the world may be short on the resources they need. I needed a home for the swarm I caught so that is a win here.
TTFN
Bishop