Home

Blueberry Syrup…. Yummy

1 Comment

My wife was needing to make some room in the freezer and a bag of blueberries I picked last summer was blocking her efforts. Rather than toss them out I decided to make some blueberry syrup. I love it on pancakes and Blue Bell vanilla ice cream. After defrosting I found that, magically, I had the perfect amount for my recipe.

It took a little longer than I anticipated and I did deviate from the recipe as described below. The results are fine!!!

Step 2. Preparing the base syrup sugar water with the lemon zest. I used Meyer Lemons from my garden….maybe not perfect but I think it worked out well.
Hard to see but I had no luck after 25 minutes with getting the syrup up to 225 degrees F.
Added the prepared blueberry juice and went to plan B. Pulled out my Cajun burner and cranked it up…..hit 225 F very quickly.
Final result is a little over two cups of very sweet and very tasty Blueberry syrup. Sunday is ice cream day at the Decker house…..guess what I am having?

Blueberry Syrup

  • 1 1/2 pounds blueberries (5 cups)
  • 4 cups water
  • 2 cups sugar
  • Six 1-inch strips of lemon zest removed with a vegetable peeler
  • 3 tablespoons fresh lemon juice

Directions

  • Step 1 In a pot, combine the blueberries with 1 cup of the water. Crush the berries with a potato masher and bring to a simmer. Simmer over low heat for 15 minutes. Strain the juice into a heatproof measuring cup, pressing hard on the solids. Discard the solids.
  • Step 2 Rinse out the pot. Add the sugar, lemon zest and the remaining 3 cups of water and bring to a boil, stirring to dissolve the sugar. Boil the syrup over moderate heat until it registers 225° on a candy thermometer, about 20 minutes. Add the blueberry juice and lemon juice and boil over high heat for 1 minute. Let the syrup cool, then discard the lemon zest. Pour the syrup into just-cleaned bottles. Seal and refrigerate for up to 6 months.

https://www.foodandwine.com/recipes/perfect-blueberry-syrup

By Grace Parisi

August 2010

I modified step 2 and chose to add the extracted juice and brought both, the sugar water and juice, up to the final temperature. It seemed to work fine.

TTFN

Bishop

Lula’s Hot Applesauce Cookies

1 Comment

This cookie won first prize two years running at the Kern County Fair….. I baked them both years but my sister Denise won the ribbon the first year…..  she entered too many categories and I helped her out. Not sure if she ever acknowledged the fact nor thanked me.

Two part recipe; 

Dry stuff

  • 2 1/4 cups flour
  • 1 tsp cinnamon 
  • Pinch of salt
  • 1 tsp allspice 
  • 1 cup chopped walnuts(optional)
  • 1 tsp ground cloves
  • Add to hot mix below once it reaches boiling

Hot mix

  • 2 cups applesauce
  • 1 stick of margarine or butter
  • 1 cup raisins
  • 1 cup sugar
  • Heat to boiling and then add 1 tsp baking soda

Add dry stuff from above

Bake at 350 for 15 – 20 minutes. They are best after day 2. 

TTFN

Bishop

Honey Caramels Recipe

3 Comments

I have an insatiable sweet tooth. It is no wonder that that one of my Rugby buddies refers to me, affectionately, as “Fatboy”! Thanks Steve! For a number of years another Rugby buddy, Vince P and I catered large BBQ’s and fundraising events – we were also affectionately known as the “Fatboys”. Now, don’t read too much into that affectionate stuff, Ruggers just tend squeeze tight in scrums, ruck and mauls!

unnamed

Just an FYI….I am the Skinny one pictured on the apron! LOL

Back to talking about the Caramels……..Just a side note….how do you say “caramel”?

caramel

noun car·a·mel \ˈkär-məl; ˈker-ə-məl, ˈka-rə-, -ˌmel\

Looks like Merriam and Webster will give you a choices.

Even though honey season is over and I have “officially” sold out, I did keep a 1/2 gallon jar(6 lbs.) of late summer honey for my personal use. Did I say I had a sweet tooth? I do love my honey!

While cruising through Facebook a few days ago I ran across a mention of Honey Caramel candy and just had to try it. End result – very, very tasty but did not turn out as aesthetically pleasing as the results on the recipe web page! See below.

honey-caramels_exps160197_thca2916394c11_16_4bc_rms

Looks so yummy and I think they must have frozen theirs or cheated some other way that only food photographers know the truth…..

caramel

I wound up rolling mine in wax paper like Bakersfield’s famous Dewar’s Caramel chews.

Ingredients

  • 1 teaspoon plus 1/4 cup butter, divided
  • 1 cup heavy whipping cream
  • 1 cup honey
  • 1/2 cup sugar
  • 1 cup chopped walnuts
  • 1 teaspoon vanilla extract

Directions

  1. Line a 8-in. square pan with foil; grease the foil with 1 teaspoon butter and set aside.
  2. In a large heavy saucepan, combine the cream, honey, sugar and remaining butter. Cook and stir over medium-low heat until a candy thermometer reads 238°.
  3. Using a pastry brush dipped in cold water, wash down the sides of the pan to eliminate sugar crystals.
  4. Cook, stirring constantly, until a candy thermometer reads 255° (hard-ball stage). Stir in walnuts( I only used 1/3 cup) and vanilla; return mixture to 255°. I think Hard Ball stage is a little higher than 255 deg F.
  5. Remove from the heat. Pour into prepared pan (do not scrape saucepan).
  6. Let stand until firm, about 5 hours or overnight.
  7. Using foil, lift candy out of pan; discard foil. Cut candy into 1-in. squares. Wrap individually in waxed paper; twist ends. Yield: about 1-1/2 pounds.

I originally heated it to “soft ball stage….235 deg F – I reheated to 255 deg F and research indicates that the hard ball stage runs up to 265 deg F. My suggestion if you want to try this recipe is go on up to the 260-265 deg F range.

One more suggestion…..use heavy duty foil in the pan!

Originally published as Honey Caramels in Taste of Home Christmas Annual 2013, p144 

Busy day today…..Earlier in the day I took one of my favorite customer and his wife out on a bee inspection tour. We first visited my topbar hive here in Kingwood. The hive is doing beautifully. They were taking photos and shared the results with me. There was a perfect view of a bar with a perfect dense brood pattern……text book. The queen is doing her job!

16734812_1181493401919981_1500621960_o

Look at the tight dense pattern. This was one of several bars with a similar pattern.

16735391_1181493378586650_1510434119_o

The girls are working hard, putting pollen away, making bee bread and some honey across the top of the bar.

Next we visited one of my 8 frame garden hives.

16731806_1181493195253335_1737980959_o

This is a deep frame with an almost perfectly capped honeycomb. Close to 5 pounds – both sides looked just like this. Yum

16732107_1181493301919991_632665327_o

There she is….tucking some pollen away. The symmetry is almost mind-blowing! I just marvel at what nature can accomplish!


I am going to end this post with sadness in my heart. A woman who came into my life when I had to immediately move a hive upon nasty request by my HOA, has passed away. She graciously offered up a location for my hive on her ranch up in Franklin,Texas. It was a bit far away, but it grew into a friendship and a mentorship. Johnnie wanted to become a beekeeper and I helped….She was so cute in her bee suit….I had to coach her about donning the outfit….Still makes me smile and laugh a little. We wound up with two hives for her and one more across the road on her niece’s property in addition to one for me. My original hive was productive but absconded…..


I found a good deal on 4 NUC’s and installed them the spring of 2016. We had problems with hive beetles. We lost two and another was not doing well. Johnnie nursed that hive back to health. She physically squished hundreds of hive beetles and kept the beetle traps loaded with mineral oil. She was becoming a beekeeper. We picked up two strong NUC’s at the end of summer and now we had 4 good hives. This was when she began telling me of some pains. It wasn’t long before it was diagnosed and the prognosis wasn’t good.

I visited her a few weeks ago, sat beside the bed and held her hand. She had a grace and sweetness about her that touched my heart. My mother passed away at the end of July 2016,  teaching life lessons up until her last breath. Johnnie also showed me grace, dignity and no fear of death. She was ready to shed her earthly body. She passed away early this morning. There is a little less sweetness on earth today but heaven has gained a beautiful soul.

Rest in Peace Johnnie

Bishop


“Aunt Toni’s Excellent Banana Bread”

1 Comment

What do you do when 8 or 10 of your homegrown bananas ripen all at once? everyone knows that it is Banana Bread time. My wife dug out the recipe for “Aunt Toni’s Excellent Banana Bread” for me to use…..problem is, it is not my sister Toni’s recipe, it is our sister Denise’s recipe….how did it get named for Toni…..That is a bit of a story.

July 19th, 2012 was my sister Denise’s 60th birthday. Toni….the other sister, requested that friends and family send Denise birthday wishes along with a favorite recipe….Denise is an awesome cook so the recipes would  be well received. The flyer and recipe that Toni sent out explains the “misnamed” recipe.

Toni’s recipe sent to Denise read;

” This is a recipe of a food gift that Denise and I have made for years to give to family and friends. A few years ago Denise’s son Sean asked me for my banana bread recipe and he has continued the tradition.  Recently he was telling Denise about my “Excellent Banana Bread Recipe”. She wanted to set the record straight that the recipe came from her. We had a good laugh, because the recipe named had changed to “Aunt Toni’s Excellent Banana Bread”.

“Aunt Toni’s Excellent Banana Bread”

3-4 ripe bananas

1 cup sugar

1 egg

1 1/2 cup flour

1/4 cup melted butter

1 tsp baking soda

1 tsp salt

1/2 cup  chopped nuts – optional

Mash bananas and add sugar. Stir in the other ingredients. Pour into a greased loaf pan. Bake one hour in a preheated oven at 325 F. Cool on  a rack then cover with plastic wrap…….if it survives that long! Makes one large loaf or two small loaves.

Ripe  bananas ready to mash. In the center, the seed area of the endocarp, the flesh has a bit of a golden color.

Ripe bananas ready to mash. In the center, the seed area of the endocarp, the flesh has a bit of a golden color.

Mixing with the sugar after mashing. The golden center flesh is still  visible.

Mixing with the sugar after mashing. The golden center flesh is still visible.

Ready to pour into the greased loaf pan.

Ready to pour into the greased loaf pan.

Final product....this variety of banana is very creamy  -it still is evident in the finished bread....Yum

Final product….this variety of banana is very creamy -it still is evident in the finished bread….Yum

After I made the bread I contacted both sisters so we could laugh again…

TTFN

Bishop

Honey Sweetened Meyer Lemon Jam – A Sensuous Kitchen Experience

Leave a comment

The title….The title is an apt description of the jam making experience but I will keep the blog descriptors “G” rated. What was actually going through my mind – is open for interpretation. I found this recipe in the same place I found the Meyer Lemon Curd recipe in the “Food in Jars” blog I mentioned in the post published on December 27th…..wait, wasn’t that yesterday? Life has given me lemons, more correctly, Meyer Lemons, and lemonade is not high on my list. Three alternatives made to date; 1. Limoncello – still a few weeks from completion, 2. Meyer Lemon Curd – a double batch, and now 3. Honey Sweetened Meyer Lemon Jam. Three decadent treats and the decadence is not restricted to flavors.

I will attempt to recreate the “cooking” experience as safely as I can. It has been a nasty, drizzly and cool day here in the Houston area. I stepped outside into the drizzle and hand selected 5, plump Meyer Lemons for the primary ingredient! Don’t try to read my mind, I will tell you that Led Zeppelin lyrics did not pop into my head until just a moment ago, so lets put that one to rest. I also used local honey…not mine but very similar in flavor.

The first non-cooking thought that hit me while stirring the batch was triggered by the aromas caressing my nose…. it was the mix of honey and, what must have been the volatile oils from the Meyer Lemon peels. The aromas were like the spring blossom time for citrus, most notably, from a midnight ride many years ago on my motorcycle down Sunset Blvd. The trip started on the UCLA campus and ended at Will Rogers Beach in Santa Monica. I have written in the past about the intoxicating scent of those Sunset Boulevard citrus blossoms on that cool and clear night. Just an amazing memory of the scents burned into my memories. My passenger that night I’m sure has similar memories of that scent filled ride, along the sweeping turns, cool and scent filled night leading down to the beach. Mmmmm – great memories triggered by the aromas buried in my gray matter.

As I was day dreaming and replaying that ride down the windy Boulevard the aromas coming off the batch of jam began to change. My first impression was that of a citrusy – Jasmine perfume scent. I had some, uh hum…. interesting thoughts….if a women was wearing a scent like this, the temptation to nibble and nuzzle her neck would have been overpowering. Plucked from somewhere deep in my memory banks was a connecting thought….pair this perfume aroma with the fresh scent of Herbal Essence shampoo and the beast within would have been testing the chains! – Careful Bishop…. I wondered if it was just my maleness fueling the thoughts when my wife popped into the kitchen and noted the perfume like aroma coming off the pot on the stove. She provided confirmation that my olfactory sensors were correct. Her comment pulled me back to the task at hand…..Jam!

The boiling process went on longer than the recipe called for. In hindsight, based on how thickly the jam set up, 15 minutes of boiling is probably correct time. I went well beyond that based on my sense of the thickening. During that time the aroma changed from arousing….(can I use that word?) to something very pleasant. The new aroma made me think more about hot, buttered and toasted sourdough bread lathered with this jam…I am very basic in my desires! I went from carnal to primal over the course of about 25 minutes.

I wound up with almost two pints of jam, probably a little darker in color than expected. If I had cut off the boiling time at 15 minute’s it may have been several shades lighter. I am assuming some “carmelization” took place. The jam is very well set and very tasty. I have many more lemons to pick so my next batch may be a little different….in results, but I hope that some same memories are triggered, memories that still make me smile. My lemons could not have been any fresher, once picked they were washed and in the boiling/simmering pot in less than 8 minutes….that may help explain the abundance of volatile lemon oils in the kitchen. Note to self……lets go ultra fresh again.

Honey Sweetened Meyer Lemon Jam

Yield: 3 to 4 half pints, plus a little for your morning yogurt

Ingredients

  • 1 1/2 pounds meyer lemons
  • 2 1/2 cups water
  • 2 cups honey

Instructions

  1. Wash the lemons and place them in a saucepan that can hold them in a single layer. Cover them with the water and bring to a boil.
  2. Once the water is bubbling, reduce the heat to medium-low and simmer the lemons for 25 minutes, until the skins are tender but still hold together.
  3. Remove the pot from the heat and let the lemons cool completely.
  4. Place the lemons in a blender carafe and add two cups of the cooking water.
  5. Blend at low speed to break up the lemons. Take care not to puree them entirely smooth.
  6. Pour the lemon mix into a low, wide pan and add two cups of honey (choose something mild in flavor so that it doesn’t overpower the lemons).
  7. Bring to a boil over high heat and reduce to medium-high.
  8. Cook, stirring regularly, until the jam thickens and sheets off the back of your spoon or spatula. You can tell it’s nearly completion when it hisses and spits when you stir. My batch took all of 15 minutes of vigorous boiling to achieve set, but times will vary.
  9. When jam is finished cooking, remove pot from heat.
  10. Funnel jam into prepared jars. Wipe rims, apply lids and rings, and process in a boiling water bath canner for ten minutes.
  11. When time is up, remove jars from canner and let them cool on a folded kitchen towel.

By on February 19, 2014 in jams, jellies, marmalades


My little dwarf Meyer Lemon tree on an earlier day.

My little dwarf Meyer Lemon tree on an earlier day.

In a few more weeks I should see my bees working the Lemon blossoms....Mmmmm so good!

In a few more weeks I should see my bees working the Lemon blossoms….Mmmmm so good!

TTFN

Bishop

Meyer Lemon Curd – So Damn Good

Leave a comment

I apologize if the curse word that shocked movie audiences in 1939, Rhett Butler (Clark Gable) to Scarlett O’Hara (Vivien Leigh) still offends….. I resisted using language from the “Thug Kitchen” a fun and irreverent look at eating healthier. Here is the trailer for the book…..be prepared – it is not G Rated!!!!!! https://www.youtube.com/watch?v=Ar7g_26QWu0      I thought the trailer was a joke…..it is tongue in cheek and the book is very real and has some great recipes!

Back to the curd…..It really is that good! I made a double batch. A doubled batch yields a little more than couple of pints and includes 12 egg yolks, two sticks of butter, two cups of sugar and –  Oh yeah lemon zest and lemon juice! I processed two of the 8 ounce jars in a boiling water bath so I could ship one of the jars to my great grandson up in Wyoming. Unfortunately, processing changes the color just a bit and the texture is not near as silky smooth as the fresh stuff! Given a spoon and left alone for a short time I could finish a jar on my own!

Yum - A plate of Lemon zest, 12 egg yolks, two sticks of butter, two cups of sugar and one generous cup of lemon juice. In the background is my sourdough starter bubbling away.

Yum – A plate of Lemon zest, 12 egg yolks, two sticks of butter, two cups of sugar and one generous cup of lemon juice. In the background is my sourdough starter bubbling away.

Do you think the lemon zest looks like shredded cheddar? My daughter Ashleigh did! We had a good laugh!

The patience in cooking was rewarded with a silky smooth and decadent lemon curd. Before dropping the utensils used in the process into the sink, I had to play Momma kitty and lick everything clean…..Yes I know, some may say bad form, but frankly, I don’t give a damn!

Ready to ladle into the hot and sterile jars.

Ready to ladle into the hot and sterile jars. My canning funnel has been well used!


Trying my best to not make a mess!

Trying my best to not make a mess!

Meyer Lemon Curd – USE MEYER LEMONS!

Yield: 2 half pints – single recipe

Ingredients

  • 6 egg yolks
  • 1 cup sugar
  • 3 Meyer lemons, juiced (you should get a generous 1/2 cup. Make sure to strain it, to ensure you get all the seeds)
  • zest from the juiced lemons
  • 1 stick of butter, cut into chunks

Instructions

  1. In a small, heavy bottom pot over medium heat, whisk together the egg yolks and sugar.
  2. Add the lemon juice and zest and switch to stirring with a wooden spoon, so as not to aerate the curd.
  3. Stir continually for 10-15 minutes, adjusting the heat as you go to ensure that it does not boil.
  4. Your curd is done when it has thickened and coats the back of the spoon.
  5. When you determine that it’s finished, drop in the butter and stir until melted.
  6. Position a fine mesh sieve over a glass or stainless steel bowl and pour the curd through it, to remove any bits of cooked egg. Whisk in the zest.
  7. Pour the curd into two prepared half pint jars, leaving 1/2 inch of headspace. If you want to process them for shelf stability, process them in a boiling water canner for 20 minutes (start the time when the water returns to a boil).
  8. According to So Easy to Preserve, it is best to process only in half-pint jars or smaller, as they allow better heat infiltration.
  9. Eat on toast, stirred into plain yogurt or straight from the jar with a spoon.

Here is the link to the recipe – http://foodinjars.com/2010/01/meyer-lemon-curd/

A very good canning blog by Marisa McClellan. Check her stuff out

TTFN

Bishop


Rainy Day Garden Blog

7 Comments

We had a rainy and stormy night last night. The thunder was the booming and it was the rolling type followed by the sound of heavy rain drumming rain on the roof. The last 24 hours brought 2.76 inches of rain in my neighborhood and as much as 3.64 a few miles away. As I write the sound of rain beating down of the roof is accelerating again…. Gotta love it!

Too wet to have coffee with the bees but I am enjoying my coffee. I am kinda sorta having coffee with my oldest daughter and her husband – they are out in Camarillo California to be precise, but with me in spirit. They sent the family a gift pack the past several Christmas’s from Harry & David, well known for their pears, but this pack had a 12 ounce package of coffee beans. The Northwest blend flavored – Hazlenut, Praline and Cinnamon. So, Melissa and Tayna….here’s to you! I am also snacking on my homemade sourdough bread, 30 minutes out of the oven…..still warm enough to melt the butter under a layer of my Serrano pepper and peach preserve.

Fresh and warm sourdough - Yum - I love making bread but even more so...... eating it!

Fresh and warm sourdough – Yum – I love making bread but even more so…… eating it!

I did check on the bees and the garden yesterday and they are busy buzzing away and gathering pollen. The strawberries are kicking out blossoms like crazy and I noticed a handful of blossoms on the sugar snap peas. I suspect I will be picking some snap peas well before New Years Eve. The carrot seeds sprinkled a few weeks ago are coming up nicely and should be ready to thin in another few weeks….I say should….seems like I have good intentions and always wind up with crowded carrots!

I will be picking my lemons this week and I need to decide how to reward my self, hmmmm – Lemon Curd is high on the list and may also be compatible with making Limoncello. How about both! Claire from “Promenade Plantings” gave the best advice for using lemon curd – open jar, insert spoon, pull out a heaping spoonful and insert into your mouth and let your taste buds celebrate….She said something like that

  • 1.5 Liters of Everclear – available in Texas
  • 14 Lemons
  • 1.5 Liters of water
  • 2.333333333333333333 pounds of sugar

Peel lemons taking care to not use the white portion of the peel…..just the yellow.

Place peels and Everclear in glass jars, seal tightly and place in a dark cool place for two weeks.

Mix sugar and water – heat and stir until dissolved. Let sit for an hour or so.

Drain lemon peels from the jars and mix with sugar water. Make a calculation a head of time in order to have on hand enough bottles to accommodate the new volumes.

Be patient and allow the bottled Linoncello to sit for a full month in a dark and cool place.

Store in the freezer and enjoy shots….I am looking forward to the fruits of my labors.

TTFN

Bishop.

Rose Petal Jelly and Other Gardening News

2 Comments

I stepped out into the front yard yesterday and picked up the scent of my wife’s roses in bloom. What immediately hit my mind was an article I read a few days ago about “Rose Petal Jelly”. I knew that I had to get it made this weekend before I left for Long Beach California for a week-long session with a client.

I picked this recipe up from “The Creamer Chronicles” blog. Easy recipe!

The ingredients you need are:
1 cup packed fresh flower petals
3 cups of water
Juice of one lemon
1 box powdered pectin
4 cups sugar

“Bring the water to a boil in a small saucepan and stir in the roses. Remove from the heat, and let the mixture steep for 10 minutes, as if you were making rose-petal tea. Strain the “tea” making sure to squeeze the petals to get every last drop of flavor out of them. Now this is where the magic happens: Pour in the fresh lemon juice and the “tea” turns back into the color of the flowers you used………”

The jelly making from this point forward is pretty straight forward. After steeping, I went triple the 10 minute suggestion. I poured the tea through a coffee filter before the jelly cooking process.  Stir in the pectin and bring to a boil. Add the sugar stirring constantly and return to a full boil. Boil for 2 minutes at a full boil, remove from heat and skim any foam off before ladling into clean sterilized jars. I went ahead and processed the jars for 10 minutes in boiling water bath.

A small rose shown with the jelly. The jelly does take on a hue very similar to the color of the petals used.

I also put a few more strawberry plants out this afternoon. I ordered “Sweet Charlie” plugs from Ison’s Nursery. They are a recommended variety for my Zone 9 gardening area. I filled my strawberry towers and filled in a few spots in my beds. I had 5 of the 50 remaining so I went over to John’s house, you remember him, Mr. 2 – 4X4 raised beds that I tend part-time. He has been smitten and does a pretty good job keeping stuff alive.

My home-made dibble used to plant some strawberry plugs.

I thought that my Asparagus bed was done for the season…beginning to yellow and die back. I cut it back a week ago and look what I find. A few of the root crowns are still pushing up spears. I love to just snap them off in the garden, give them a quick rinse and munch away…..so sweet!

Renegade asparagus – I cut it all back last week and I have a few trying to break out…Guess I’ll just have to eat them!

TTFN

Bishop


I Like Cobbler

2 Comments

This morning as I was catching up on some of my favorite reads in the blog world I found this – I Don’t Like Pie – by The Orange Bee – Linda – great recipes, great stories and quite a beekeeper. Thank you Linda for the inspiration.

http://theorangebee.wordpress.com/2012/08/17/i-dont-like-pie/

I like my grandmothers lattice topped cherry pie nut it has been 30 years since i last enjoyed one. I am a huge fan of Blackberries and cobbler – I think I shared this recipe a long time ago but it being summer and berry picking and consuming time I thought that I would share it again – It has been a prize winner for several folks that have provided it for local dessert contests.

Meme’s Blackberry Cobbler – it is so good!

The recipe again for those who have a deep 12″ cast iron skillet…

MEME’S BLACKBERRY COBBLER

I added an extra cup of blackberries to this recipe from Virginia Willis’ Bon Appétit, Y’all: Recipes and Stories From Three Generations of Southern Cooking (Ten Speed Press, $32.50).

  • 1/2 cup (1 stick) butter
  • 5 cups blackberries, fresh or frozen 6 is better in my opinion!
  • 1 cup sugar, plus more if desired for berries
  • 1 cup all-purpose flour
  • 2 teaspoons baking powder
  • Pinch salt
  • 1 cup whole milk
  • 1 teaspoon vanilla extract
  • Vanilla ice cream, to serve – it really needs to be Blue Bell

Preheat oven to 350 degrees. Place butter in a large iron skillet; place skillet in oven to melt butter.

Put blackberries in a large bowl. If they are frozen, let them soften a few minutes. Crush lightly with a potato masher. Sweeten with extra sugar if you like.

Whisk flour, baking powder, salt and 1 cup sugar in a medium bowl. In another bowl, combine milk and vanilla. Gradually pour wet ingredients into dry while whisking.

Remove skillet from oven. Add melted butter to batter. Stir to combine. Pour batter into hot skillet. With a spatula, scrape the berries into the center. Bake cobbler till it is golden brown and a cake tester inserted into the cake (not the berries) emerges clean, about 1 hour.

Serve warm with ice cream — and prepare for a walk down memory lane.

Makes 6 to 8 servings.

TTFN

Bishop


Organic and Decadent

9 Comments

Interesting title….. I want to run a little test to better understand what words cause a reader to read on. Lets take a vote. All of you who read the post primarily because of the word “Organic” please raise your hand….keep them up so I can get a count. Good, thank you. Now those of you that tuned into the word “Decadent” please raise your hands for a count, not both of them – just one hand will do…… good thank you.

Hmmmmmm. I am not sure if I have a statistically significant sample to accurately determine the results….. Some of you may have voted twice or got the word “Organic” mixed up with another word after you saw the word “Decadent” influencing your voting! All this tells me is that my original plan for the title, ” A Natural Lemon Curd” may not have attracted many readers. Really, Lemon Curd? In Texas you might hear the refrain, ” What the Hell is Laaaman Crud or whatever you called that stuff?”

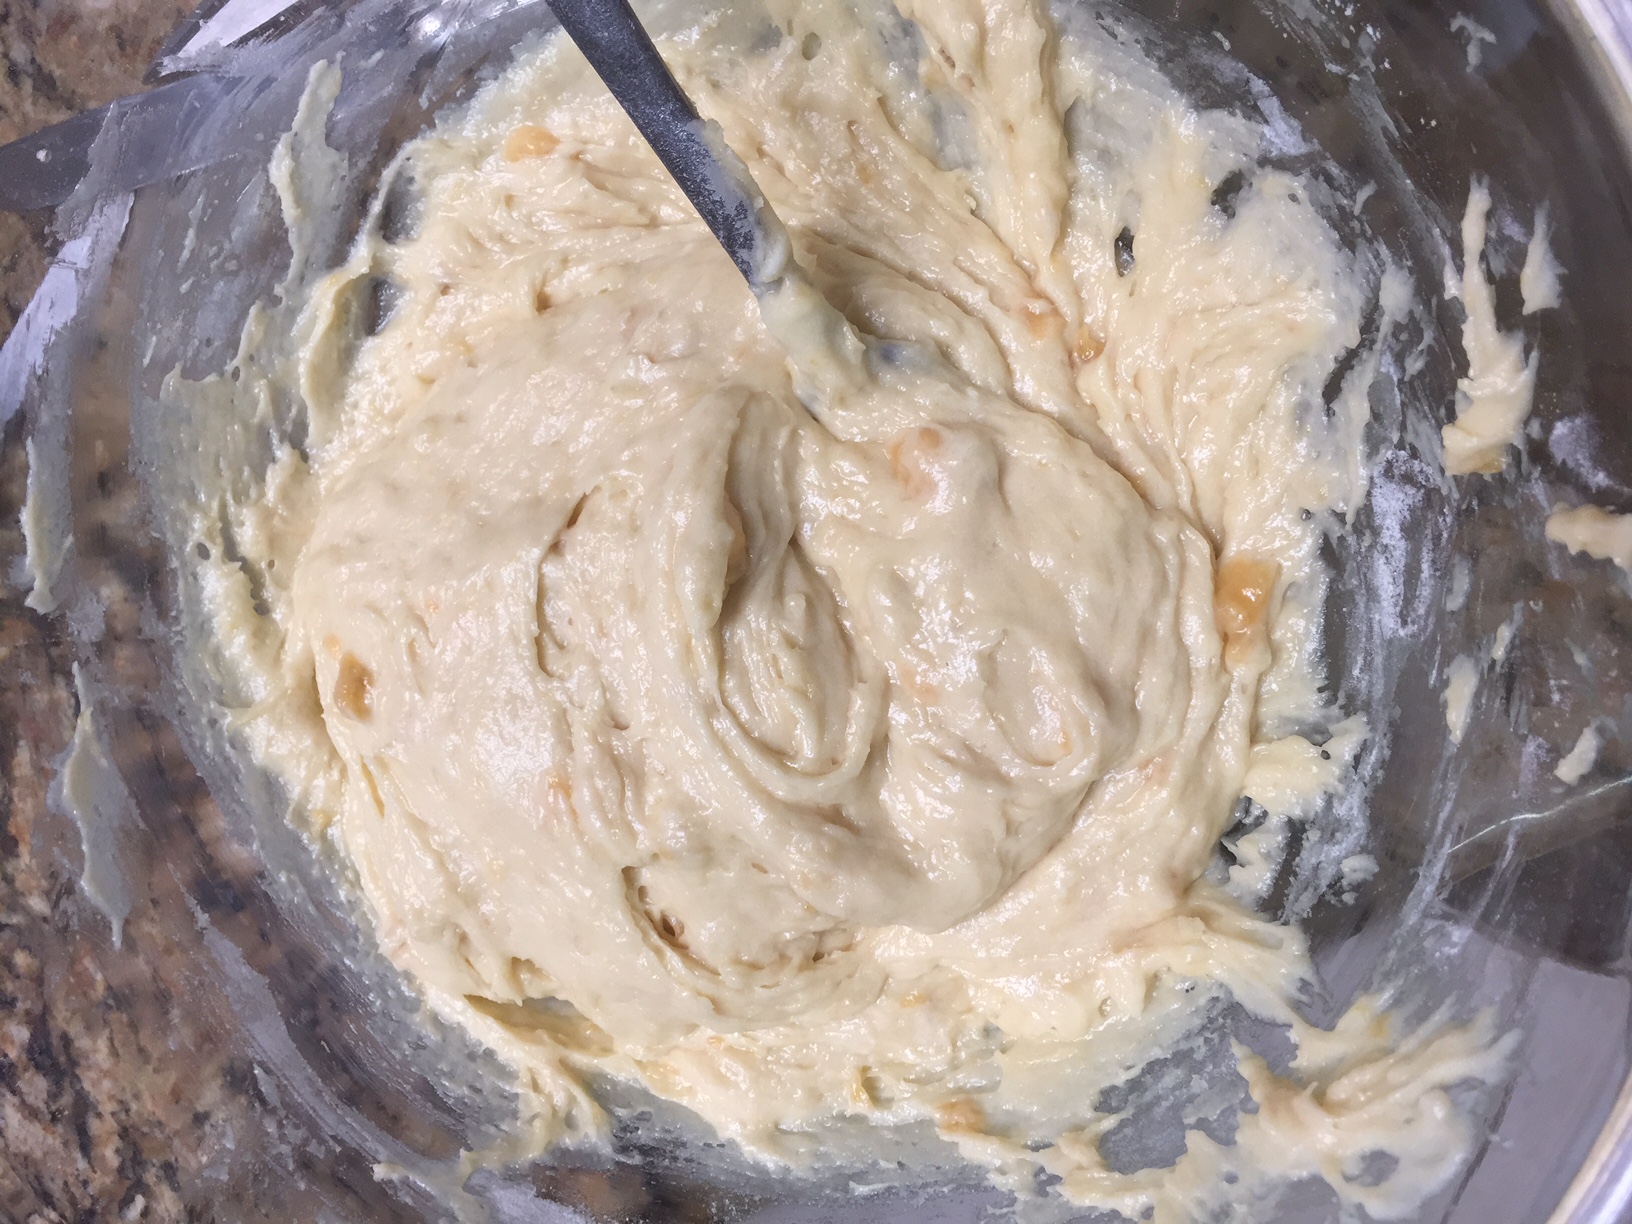
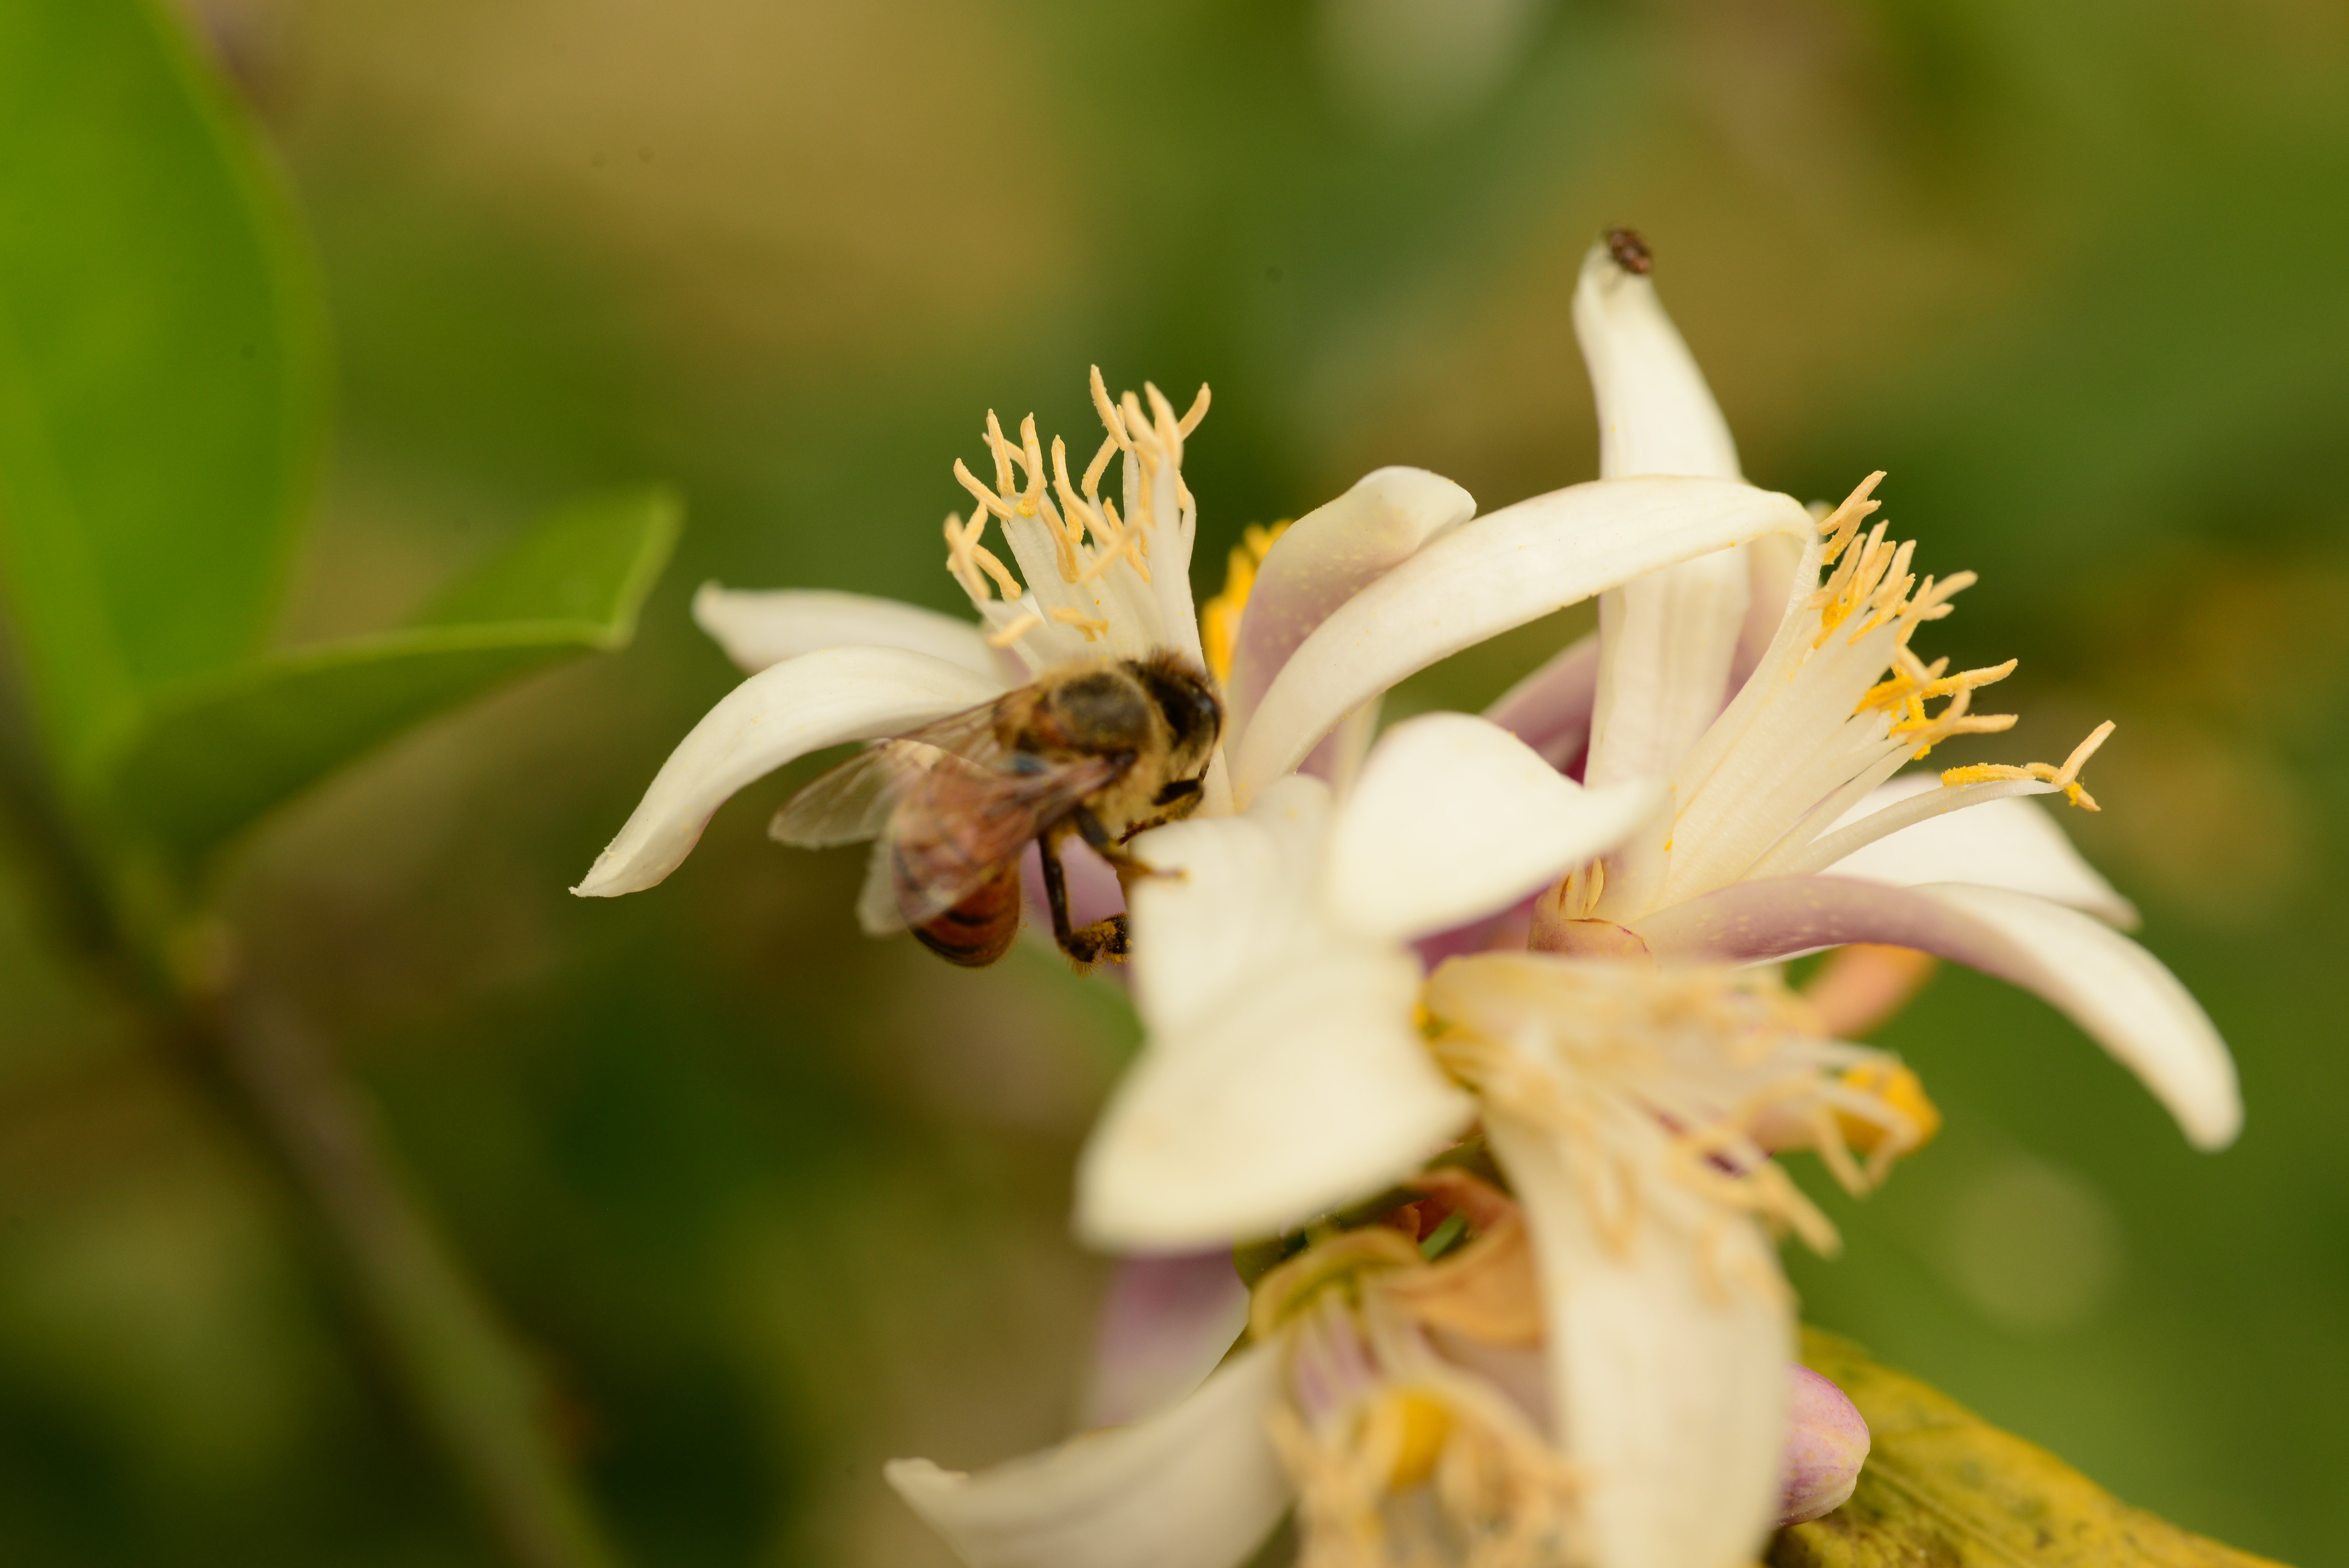
Honestly, I have to admit that I had no clue what lemon curd was until two years ago….yes I know I am not much of a sophisticated foodie, but I am learning! A neighbor friend and fellow gardener gave me a jar of her homemade lemon curd two years ago this Christmas. She has Meyer Lemon trees in her yard and enjoys sharing the bounty. I loved the lemon curd so much that I planted a dwarf Meyer Lemon tree in a wine barrel in my back yard. For a little guy he was prolific. I harvested about 25 lemons this year. So I decided to try my hand at making the fabulous lemon curd. I am sure my friend over at Promenade Plantings could give me some lessons and advice on how to best use my Decadently Rich lemon curd.

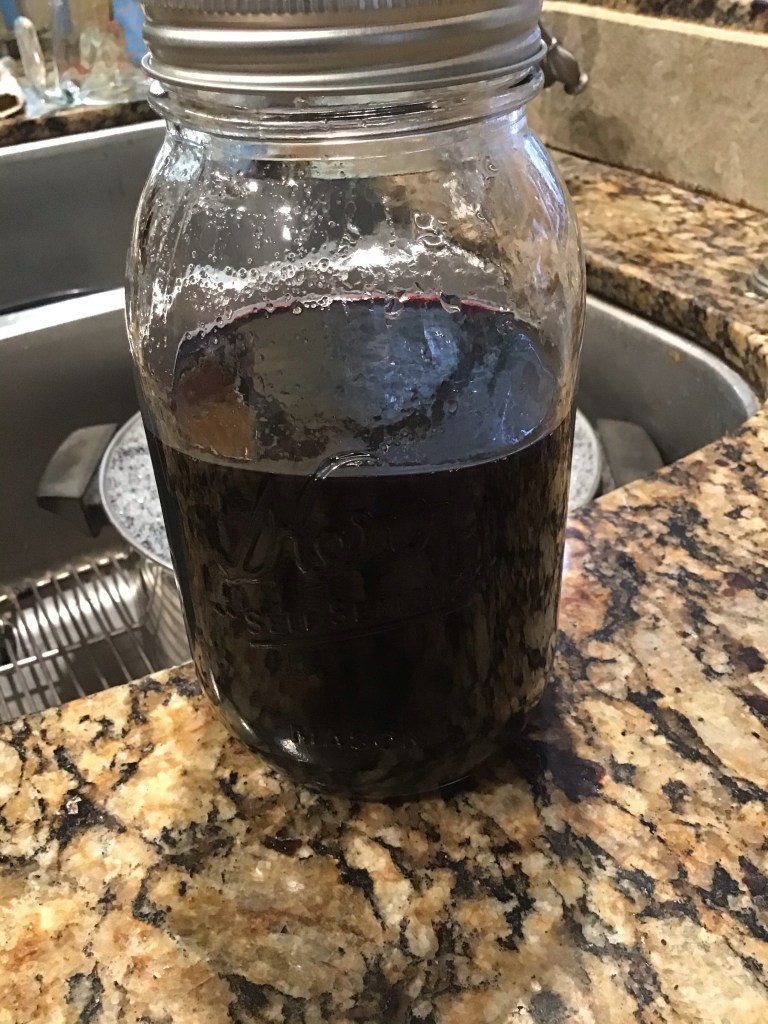
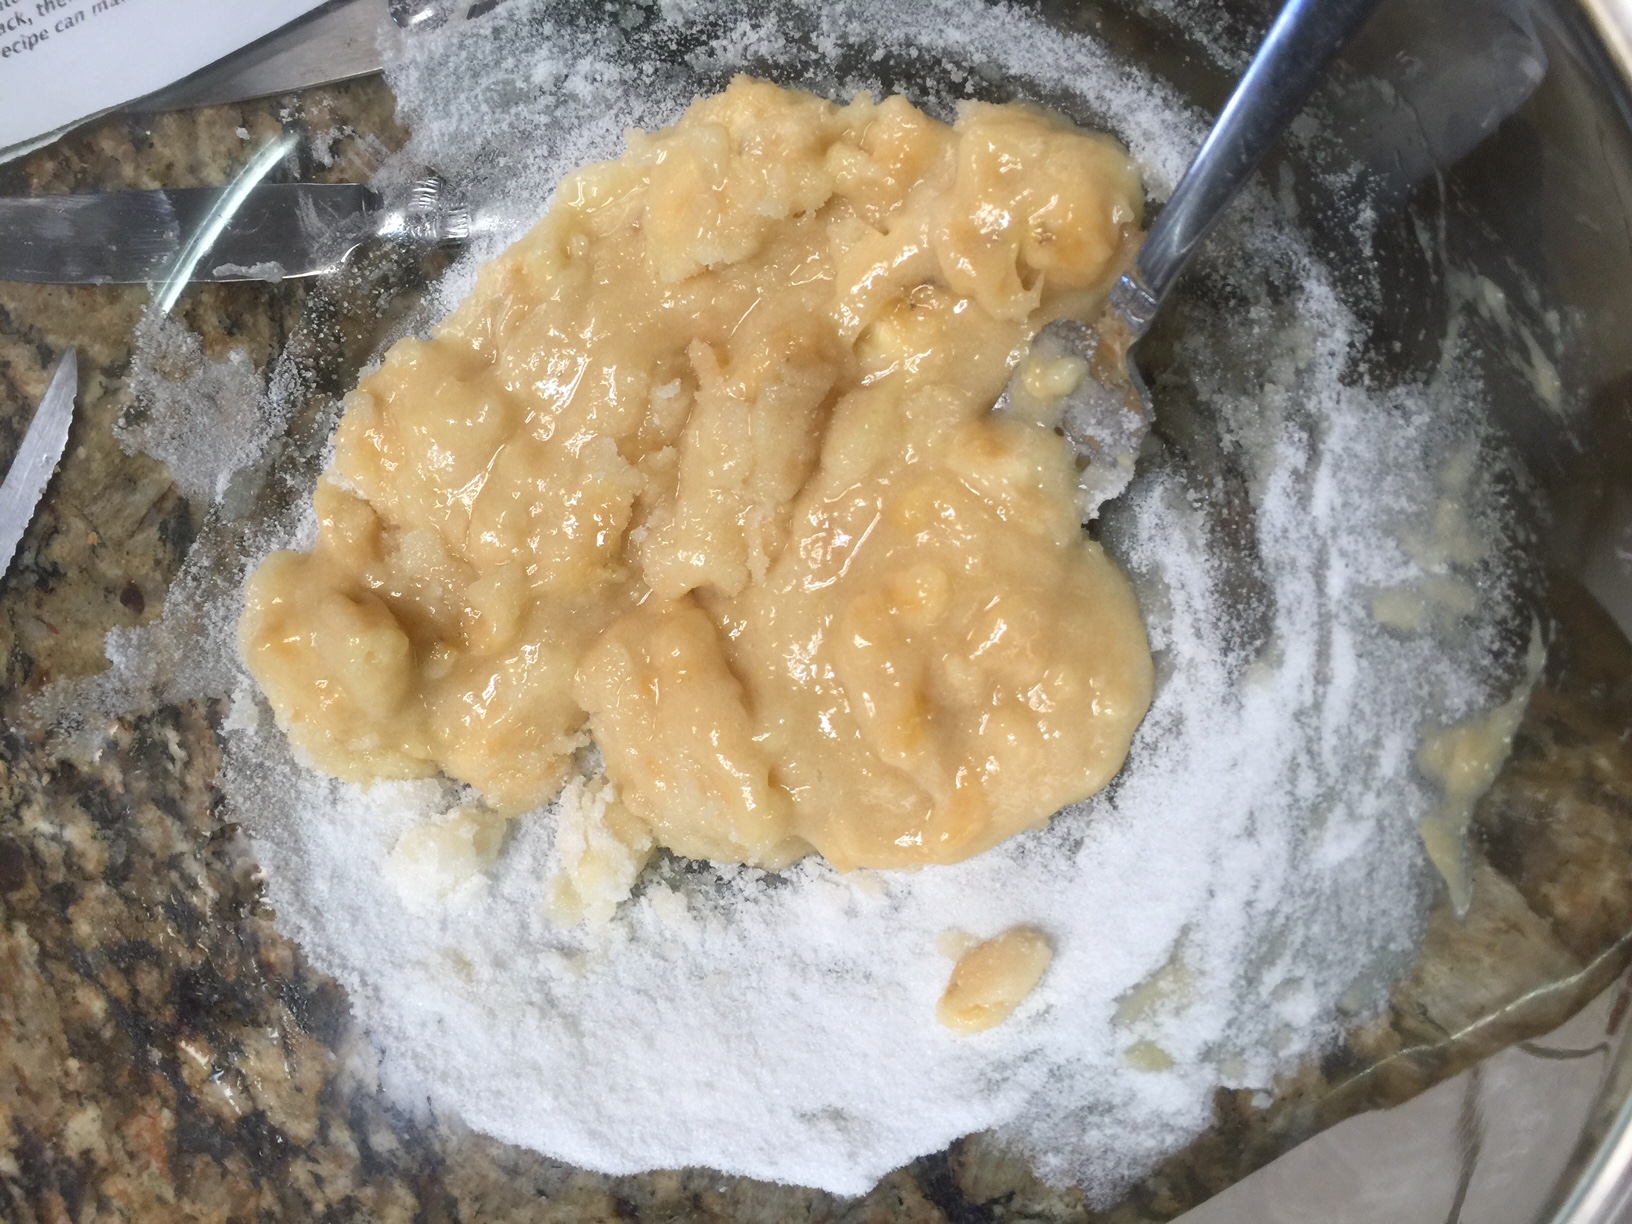
Here is where the “Organic” and “Decadent” came about….. I grow everything without chemicals so the lemons are “organic” by my definition. I used certified organic unsalted butter in the recipe, a lot of it! The sugar, well it was not labeled organic but it is essentially pure glucose and nothing else. I used a lot of sugar too! When I looked at how much butter and sugar went into this recipe – it made only 6 half pint jars, I realized how decadently rich this stuff is…. oh my! When you think of a food as being organic you first thought is something healthy. But, here we have an organic product that is so decadently rich and….”unhealthy”? –

Here is how I can justify the dilemma in my little “ole” pea brain….. “organic” = good, “decadent” in moderation = pretty darned good. That being said, I will eat my lemon curd, probably share some with others and feel good about my choices…… unless I can’t moderate my decadent desires and it flames out on the pleasure side of the equation…..its not like I have never gone overboard with “pleasures”….how many times?????? I could probably sit down with a spoon and eat the entire jar! Please don’t dredge up any stories to share with my wife…… she has probably heard most of them but my kids may not have…. after all those years playing Rugby there are a few stories floating around – most have been embellished over time! I didn’t know I was that entertaining!!!! How did a hard partying rugger find his way into gardening? That is a great question. May wind up being a future topic.

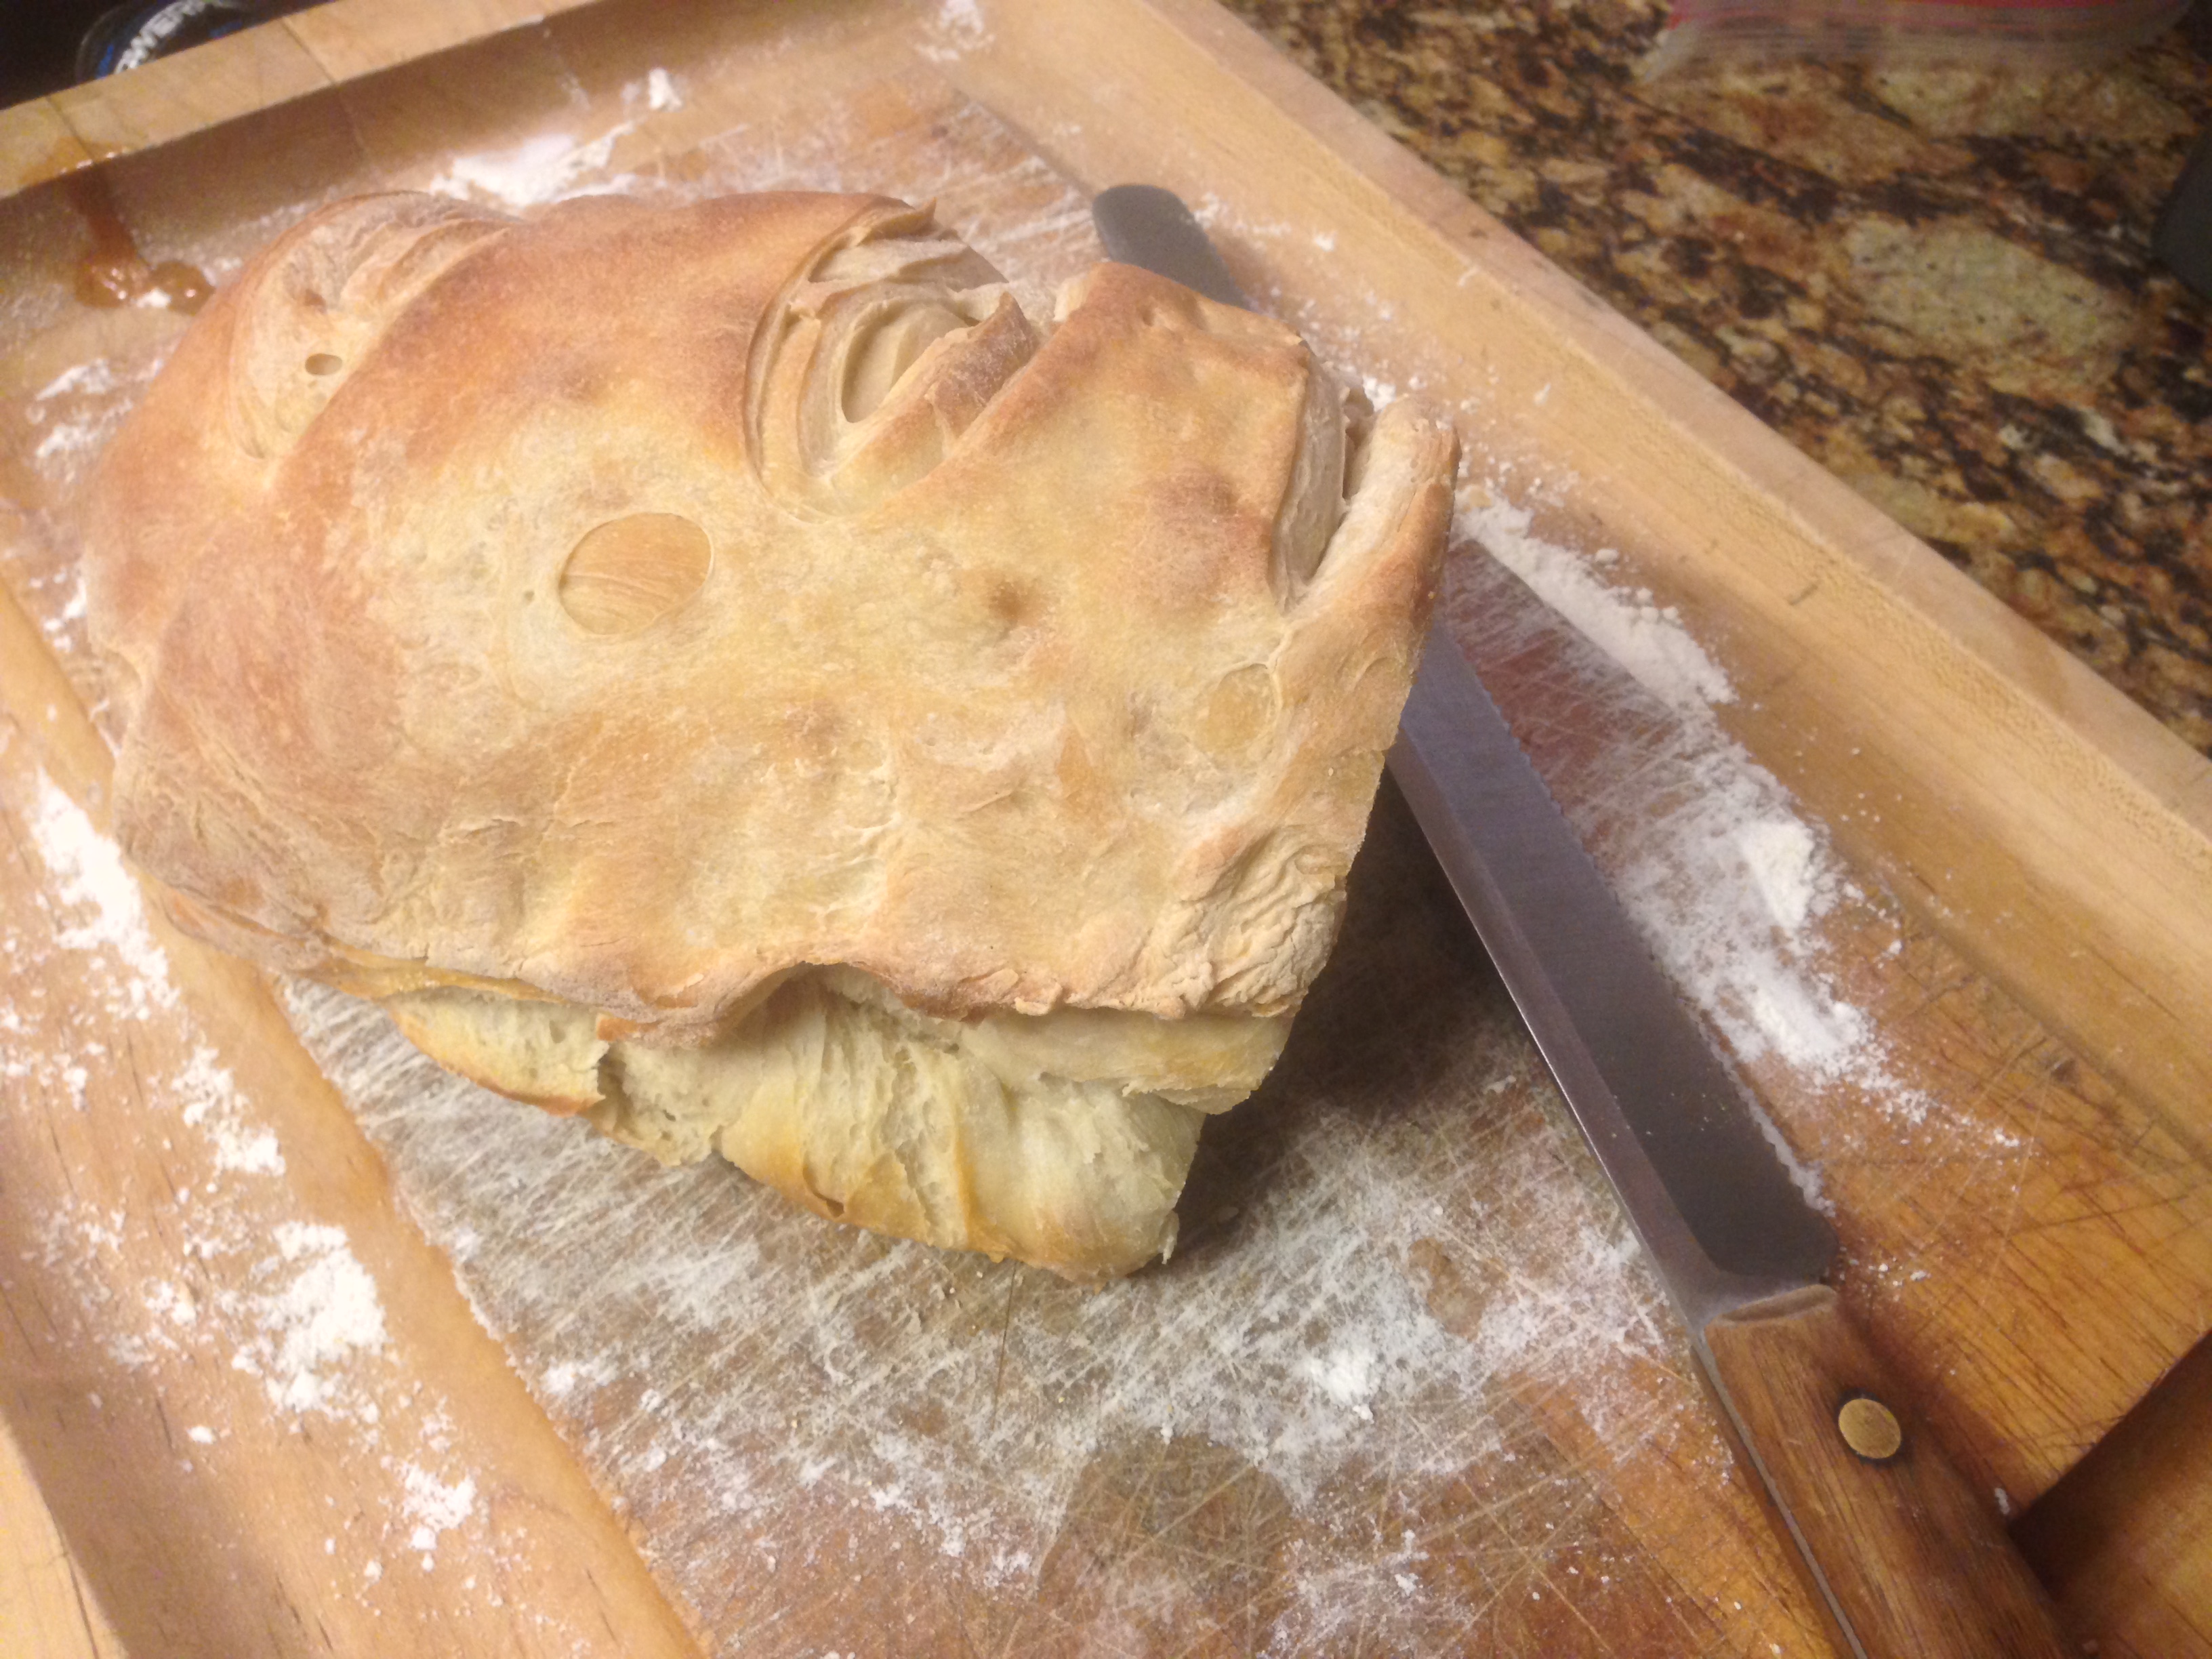
Photos are my lemons Au natural and photo-shopped a little. Kind of fun to see what the computer can do.

The winter garden is doing well. My son’s dog Sierra is back but I now have a garden gate to protect my little lettuces! The sugar snap peas, although not plentiful, are outstanding. My shredded leaf efforts are up to about 64 cubic feet and growing. If the weather cooperates this weekend I should be able to more than satisfy my expected needs.

More work coming up, more strawberry tower experimenting, install the new 4X4 bed for John…parts are in and assembled – just need to place it and fill it. Spinach and chard transplants are almost ready and the turnips are kicking butt. Looks like no winter for Houston this year! Oh, I also need to harvest the worm castings….. I keep putting it off. Lets see, what else, work part-time, make beer, turn a few pieces on the lathe, ride the bike, spend some time at the coffee shop and most importantly spend some quality time with my wife…..I need more hours in the day.

I am also planning a series of 3 backyard farming features….. John with his 32 sq. feet, me with my 350+/- sq. feet  and hopefully a piece on my friends, Jane and her John – they are utilizing the entire back yard and have converted most of the front yard to edible landscaping. Maybe a couple thousand sq. feet of plantings. Should be a fun project

TTFN

Bishop


Older Entries

%d bloggers like this: